


To make galaxy nails, you paint a deep blue base, pat white and neon gel polish over it with a dry eyeshadow blending brush to create clusters of stars, add a glitter top coat and finish with a few larger shining stars. In this tutorial Steffi shows the whole design in under eleven minutes.
It is one of the easiest ways to paint a starry night sky, because the stars are stippled on with an eyeshadow blending brush instead of a nail brush. There is very little painting involved.
Below you'll find the products for this quick, effective galaxy nail art tutorial, each step with its place in the video, and Steffi's tips.
At a Glance
- Design: galaxy nails with stippled stars
- Artist: Steffi
- Technique: gel polish stippled with a makeup brush, glitter top coat, hand-painted stars
- Nail shape: long ballerina tip
- Skill level: beginners
- Key products: Ocean Ridge, Snow White, Shook, Citrus Blast, Orion Top Coat, Eyeshadow Brush, Dotting Tool
- Video length: just under 11 minutes
Why You'll Love These Galaxy Nails
- A makeup brush creates the starry effect with very little effort
- Quick and easy to do
- Neon colours really stand out against the dark blue
- A glitter top coat gives it that out of this world finish
Why an Eyeshadow Brush Works
An eyeshadow blending brush has hairs that are spaced out and face outwards. Patted onto the nail with only a little gel on it, each hair leaves its own tiny speck, so one dab gives a whole cluster of stars. A nail brush would leave a solid mark instead.
The brush has to be clean and dry, and Steffi pats off the excess before it touches the nail. She puts white down first, then the neon pink and yellow, because on a dark base the neons could get lost. That is the whole trick behind this eyeshadow brush nail art.
Products Used in This Video


How to Create Galaxy Nails
1. Paint the night sky
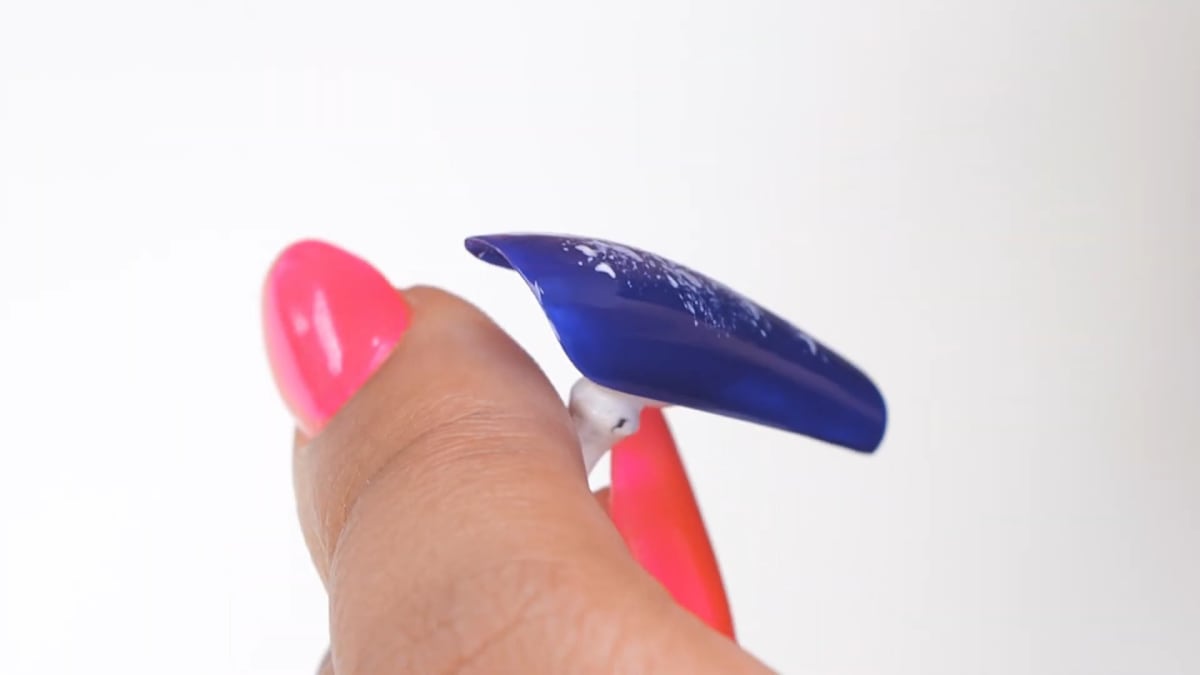
Apply a couple of thin layers of Ocean Ridge and cure for the full length of time. Watch this step at 0:40
2. Stipple on the white stars
Put a little Snow White on your palette. Dab a clean, dry eyeshadow blending brush into it and pat off the excess so there is not too much on the brush. Pat it onto the nail to get a starry look, add a little more white if needed, then cure. Watch this step at 2:00
3. Add the neon colours
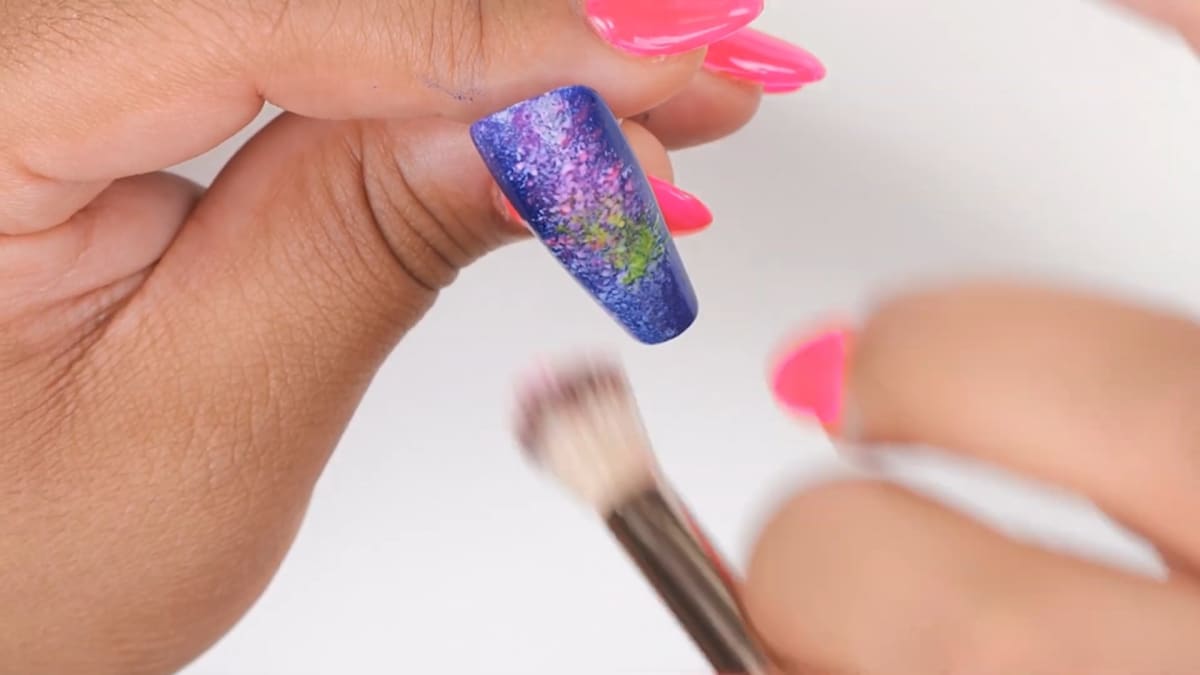
Do the same with Shook and Citrus Blast, patting them on randomly. Steffi applies white first so the colours stand out against the dark base. Wipe the brush on a lint free wipe with a little alcohol so the colours do not mix, then cure. The neon nail art starts to look like a night sky at this point. Watch this step at 3:40
4. Add the glitter layer
Apply a nice thin layer of Orion over the whole nail. Watch this step at 6:40
5. Make the shining stars
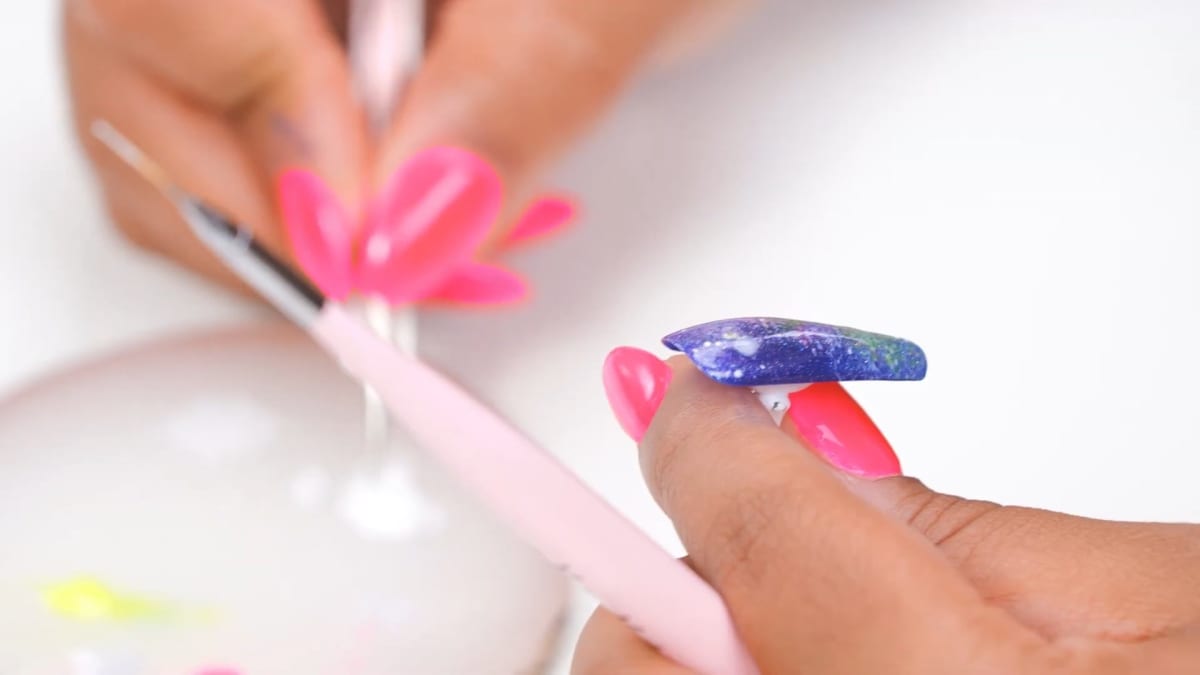
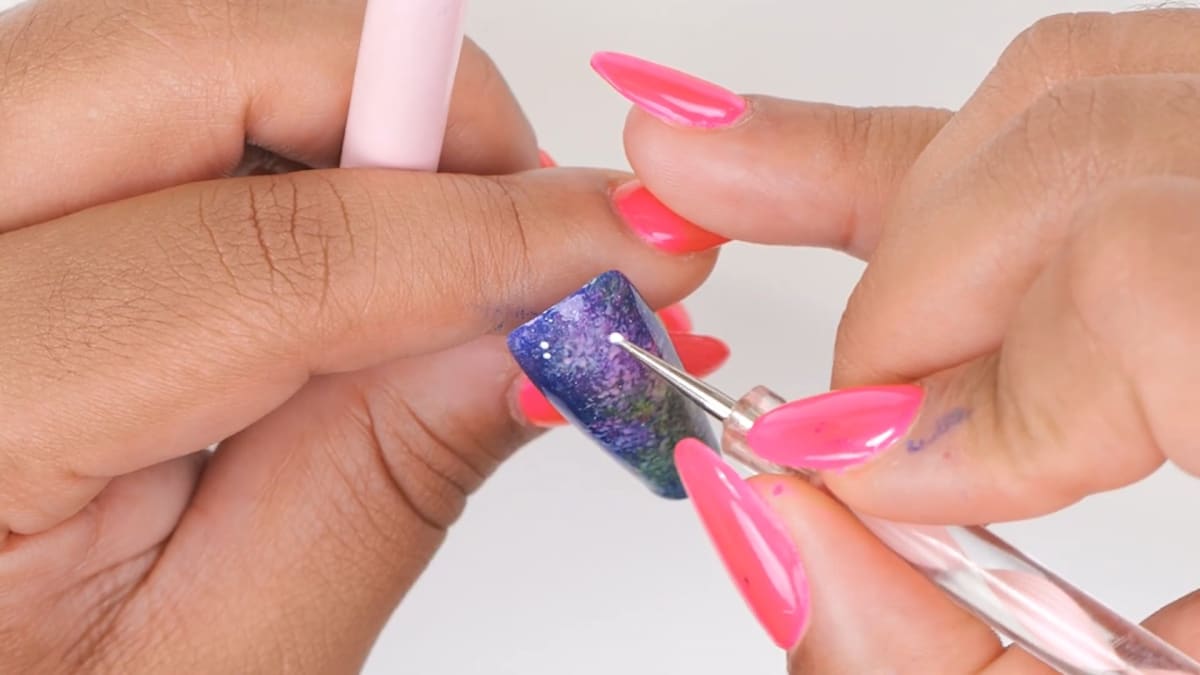
Mix a little Snow White into top coat to make a translucent white. Use a dotting tool to add a few white dots, then paint a couple of larger blobs of the translucent white. Flash cure for 10 seconds. Add a dot in the centre of each blob, then pull lines outwards with a fine brush, so it looks like a shining star. Watch this step at 7:30
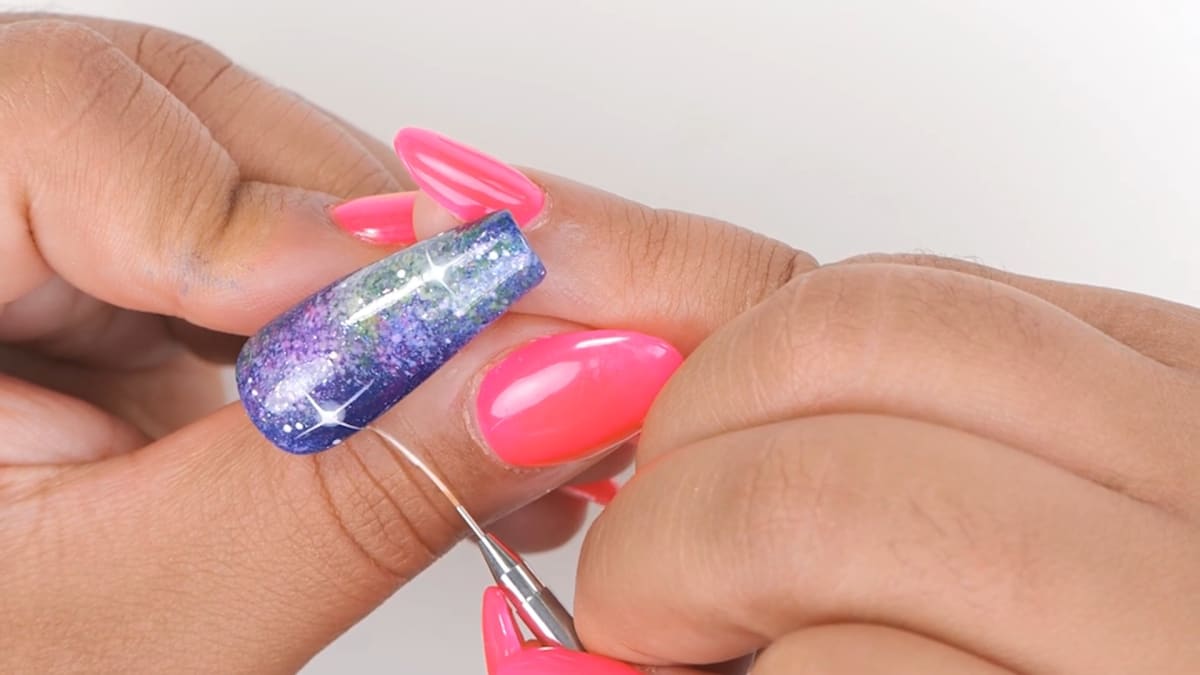
6. Seal it in
Cure fully, then apply one thin layer of top coat. You could add another layer of Orion on top if you want more glitter. Watch this step at 9:10
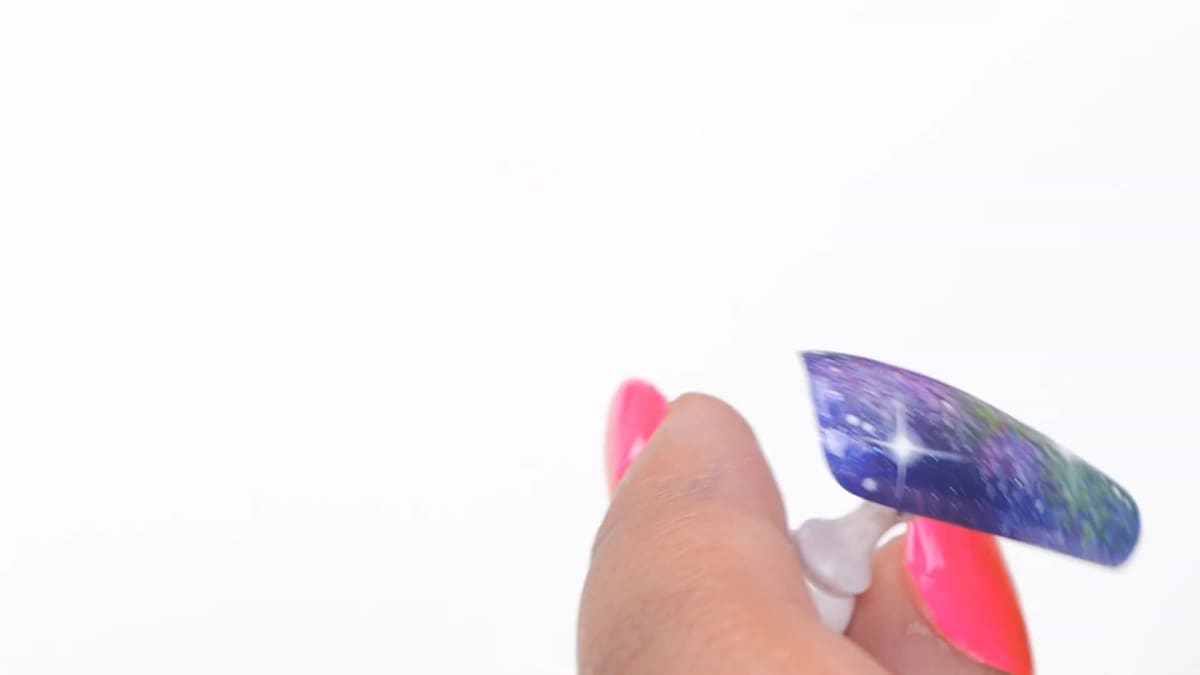
Where to find each stage of the Galaxy Nails video
| Stage | Time |
|---|---|
| Deep blue base | 0:40 |
| White stars with the eyeshadow brush | 2:00 |
| Neon pink and yellow stars | 3:40 |
| Orion glitter top coat | 6:40 |
| Shining stars | 7:30 |
| Top coat and the finished nail | 9:10 |
Pro Tips
- Do not load too much product on the blending brush; pat off the excess.
- Put the white down first so the neon colours stand out.
- Do not worry about making the dots the same size.
Who Is This Design For?
This is a perfect design for beginners and for anyone who wants a quick, eye-catching nail. It works for salons because it is so fast, and it is a handy easy nail art hack to have ready when a client asks for something starry.
Ways to Make It Your Own
- Use different neon colours for the stars
- Add extra glitter or flakes
- Try other makeup tools for different textures
Aftercare
Keep your cuticles moisturised with oil daily and avoid using your nails as tools to help your galaxy nails last.
Frequently Asked Questions
How do you make galaxy nails?
Paint a deep blue base, pat white and then neon gel polish on with a dry eyeshadow blending brush, add a glitter top coat, paint a few shining stars and seal with top coat.
What brush makes the stars?
An eyeshadow blending brush, because its hairs are spaced out and face outwards.
Why apply white before the neon colours?
On a dark base the neon colours could get lost, so white underneath helps them stand out.
How do you stop the colours mixing on the brush?
Wipe the brush on a lint free wipe with a little alcohol between colours.
How do you paint a shining star on a nail?
Paint a blob of white mixed with top coat, flash cure for 10 seconds, add a dot in the centre, then pull lines outwards with a fine brush.
Can I add more glitter to galaxy nails?
Yes. Steffi suggests another layer of the Orion cosmic top coat if you want more.
Give Galaxy Nails a Try
Watch the nail art tutorial above to see Steffi's technique, then try these easy galaxy nails for yourself.


